Installing a back draught shutter extractor hood
Food preparation is an intensive process that uses a lot of energy to change the texture of the ingredients. At the same time, the aroma of a delicious meal can be very pleasant, but water vapour and particulates are often released. The extractor contributes to freshening the air and thus to a healthy indoor climate. To prevent an open connection to the outside, you can install a back draught shutter. What does this mean?


What is a back draught shutter?
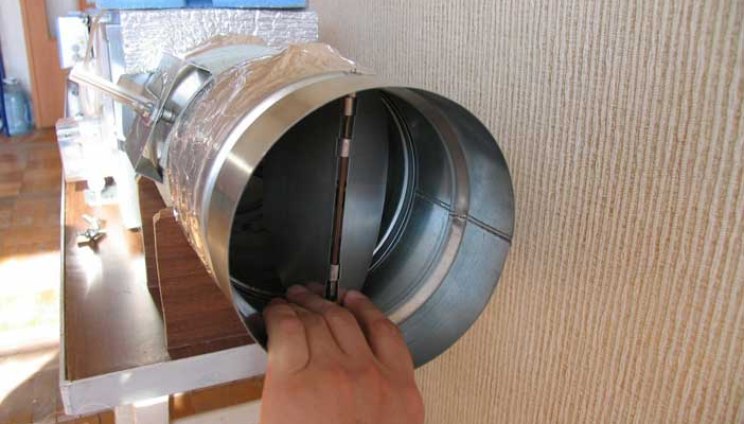
When using an extractor hood, it is essential to remove the polluted air effectively. When cooking is not taking place, this requirement is no longer necessary. A feature of the back draught shutter is that it is only effective when there is airflow, for example when cooking. If there is no airflow, the back draught shutter closes automatically (in fact, the name refers to the functional operation of back draught shutters). Do you want to install a back draught shutter? The first step is to make sure you have the right materials. Intovent has several types of back draught shutters in its range. If you would like tailored advice, please contact us.
Why install a back draught shutter extractor hood?
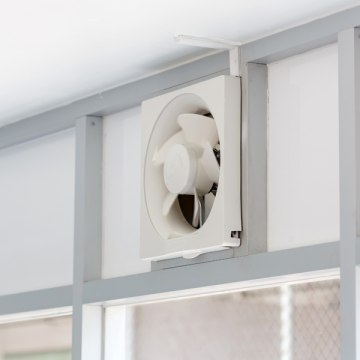
An extractor hood is the ideal way to ensure proper ventilation when cooking. It prevents condensation on the windows and food odours from spreading throughout the house. Cooking with gas also releases other harmful substances such as carbon dioxide and ultra-fine particles. That is why it is essential to have a properly functioning cooker hood with a back draught shutter. This is because a back draught shutter prevents backflow. Contaminated air cannot flow back. Installing a hood with a back draught shutter is relatively simple, but there are a few things to consider.
Where to install a back draught shutter extractor hood?
If the cooker hood is connected to an external wall grille, it will usually already have a back draught shutter. If there is a roof duct, you will have to do it yourself. What should you bear in mind when installing a back draught shutter for an extractor hood? As close as possible to the roof duct is the motto. It is not a matter of millimetres, so check how you can reach it properly. Working comfortably makes the installation of a back draught shutter hood much easier. If you have a ventilation system with branches, make sure that the back draught shutter is installed in the ventilation shaft.
Back draught shutter extractor hood: wide range
Back draught shutters come in all variations. The most common types, work based on:
- Gravity: NNatural ventilation is central. With the airflow, the valve opens, and without air velocity, it closes again
- Butterfly: This type of back draught shutter is similar to the previous one, but now, springs take care of closing the valve. This back draught shutter offers more resistance than the gravity model.
- Membrane: Suitable for natural ventilation and sensitive to light airflow.
- Blinds: This back draught shutter is suitable for external use, connected to an air duct (e.g., not in a spiral duct).
How to mount a back draught shutter extractor hood
Installing a back draught shutter is relatively simple, especially for the DIY enthusiast. When you order a back draught shutter from Intovent, you will receive a manual that explains exactly what you need to do. However, it is important to bear the following points in mind:
- The back draught shutter must be able to withstand airflow from one direction. The connection to the ventilation duct must therefore be strong and solid.
- Furthermore, make sure that the connection between the back draught shutter and the ventilation duct is completely closed to prevent air leakage.
- Mount the back draught shutter so that it remains accessible. Over time it may be necessary to remove dust and dirt.
- IIs the ventilation duct branched? If so, make sure that the air can continue to flow freely, otherwise there is a risk that the fan motor will have to work too hard and cause noise pollution.
- Do you have a back draught shutter with a mounting plate? Prevent 'knocking' by gluing rubber to the edges, for example.
- Avoid the use of adhesives as this will make it difficult to service a back draught shutter should the need arise.
Installing a back draught shutter extractor hood: conclusion
Back draught shutters are relatively inexpensive. Enthusiastic do-it-yourselfers generally have little trouble installing a back draught shutter. Take your time and work carefully to avoid mistakes. If you are not up to the task, get professional help. Get in touch if you need advice, for example on our range of back draught shutters.
Relevant articles


